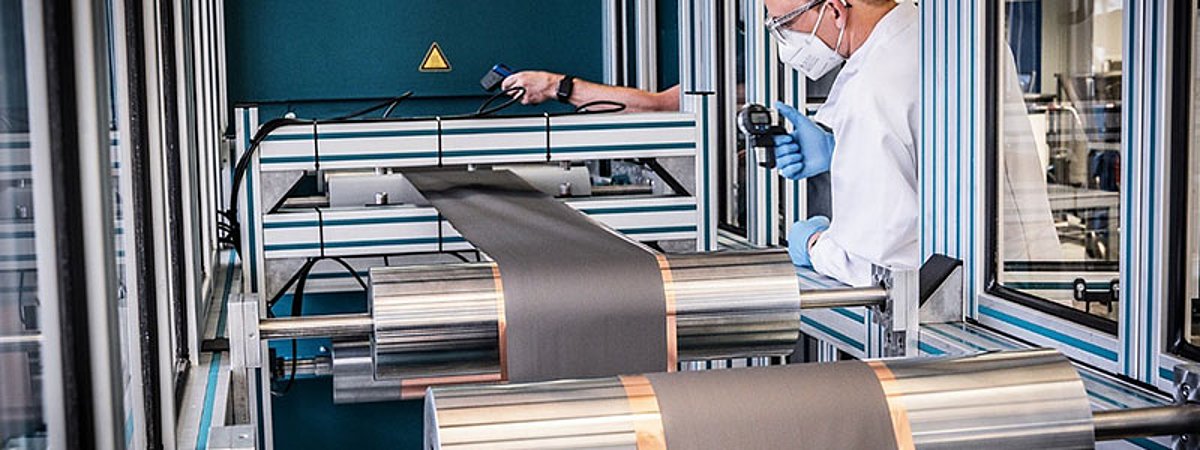
Fraunhofer Vision at Control 2025 with surface measurement and inspection systems

At Control 2025 in Stuttgart, the Fraunhofer Vision business unit will be presenting a selection of the latest measuring and inspection systems with image processing for quality assurance in production. These include systems for surface inspection and analysis and for non-destructive surface testing of components.
This year, Fraunhofer will be presenting exhibits from the fields of surface inspection, optical 3D metrology, inline measuring and testing as well as component identification at its Control trade fair stand (Hall 7, Stand 7301). New developments in the field of non-destructive testing with technologies such as terahertz, radar, magneto-optics and ultrasound will also be on display. Numerous exhibits work with artificial intelligence or machine learning methods. For example, the Fraunhofer ITWM will be presenting an automated inspection system for the surface inspection of metallic, cylindrical components in a circulating conveyor line. This setup is a miniature replica of a conveyor line in a production environment with integrated inspection. The components are transported on workpiece carriers in a continuous process and stopped under the inspection system. There, the surface of the cylindrical components is completely scanned with a rotating line scan camera and lighting and then evaluated algorithmically. Anomaly detection algorithms are used, which make it possible to analyze and detect deviations on the surface such as scratches, deformations or soiling in real time.
3D surface measurement system and fluorescence laser scanner
Fraunhofer IPM will be presenting the HoloTop NX system at the Control trade fair stand, a 3D surface measurement system in the machine tool for measuring with sub-μ accuracy. It is a further development from the HoloTop sensor family, with which surfaces of 12.5 x 12.5 mm² can be measured with 9 million 3D points in under 1 s. Thanks to its modular design, the measuring system can be attached to various multi-axis systems, e.g. machine tools, coordinate measuring machines or industrial robots. The quality of the measurement data is illustrated using various sample specimens. Fraunhofer IPM, on the other hand, will be exhibiting the F-Scanner fluorescence laser scanner at Control. The device scans the component surface within seconds and generates a complete image of the residual contamination or coating. This makes it possible to identify where and in what quantities organic substances are present on the component surface. This makes it possible for the first time to carry out a quantitative analysis of the surface coating, even on 3D objects of any shape and the thinnest coating thicknesses. The system is suitable for preliminary inspection, for flexible quality inspection of series components and as an inspection system in production. The F-Scanner systems can be used as a stand-alone device or integrated into a production line.
180°/360° inspection and inspection of (partially) reflective surfaces
The inspection systems of the Inspect 180° / 360° series developed at Fraunhofer IPM analyze the geometry and surface quality of components on the conveyor belt or in free fall during production, thus enabling type-independent, complete optical inspection of mass-produced components for the first time. At Control, the function of the inspection systems will be demonstrated in a presentation using specific examples in a production environment. A precise inspection of stamped parts with regard to geometry and surface defects up to a defect size of 30 μm will be demonstrated. The components are transported individually into a hollow sphere via a simple feed system and inspected simultaneously from all directions in free fall using cameras. Metal components from forming, stamping, forging and casting processes or plastic parts as well as hybrid components made of composite materials can be inspected. At the Fraunhofer IOSB, the deflectometry method is used to inspect flat or curved reflective surfaces. This is because specular (directional) reflection often plays a decisive role in surfaces, both aesthetically and for functional use in the manufacturing industry, e.g. in car body parts. However, the inspection of reflective surfaces poses special challenges in practice: On the one hand, most common surface inspection methods, such as fringe projection, rely on diffuse reflection. On the other hand, the results of such methods cannot easily be used to evaluate reflective surfaces, as the customer assesses the quality based on reflections of the surroundings in the surface. The deflectometry method closes this gap in measurement and testing technology and offers the possibility of applying objective standards in quality assurance using simple means.
AI-based anomaly detection and coating thickness measurement with terahertz
The Fraunhofer IPK demonstrator uses an example component to show the application of anomaly detection in optical inspection. 3D-printed gears run in front of an industrial camera on a motor and are inspected for damage. Various types of damage can be introduced into the gears, which are detected during the subsequent optical inspection. The AI finds all faults without having learned the type and nature of the defects in advance. The evaluation of the component and the defect are displayed on the screen using a heat map. The Fraunhofer ITWM in Kaiserslautern is also developing terahertz measurement technology systems that can be used to measure layer thicknesses in an industrial environment, among other things. The latest version of the terahertz coating thickness measurement system is now available in a robot-assisted version, i.e. a collaborative robot, or "cobot" for short, is used to simplify integration into the working environment. The Fraunhofer ITWM system is particularly suitable for measuring the thickness of individual layers within a multi-layer system, whereby the coating can be applied to any material. In addition, moist, sticky and soft coatings and coatings on curved surfaces can also be measured.
